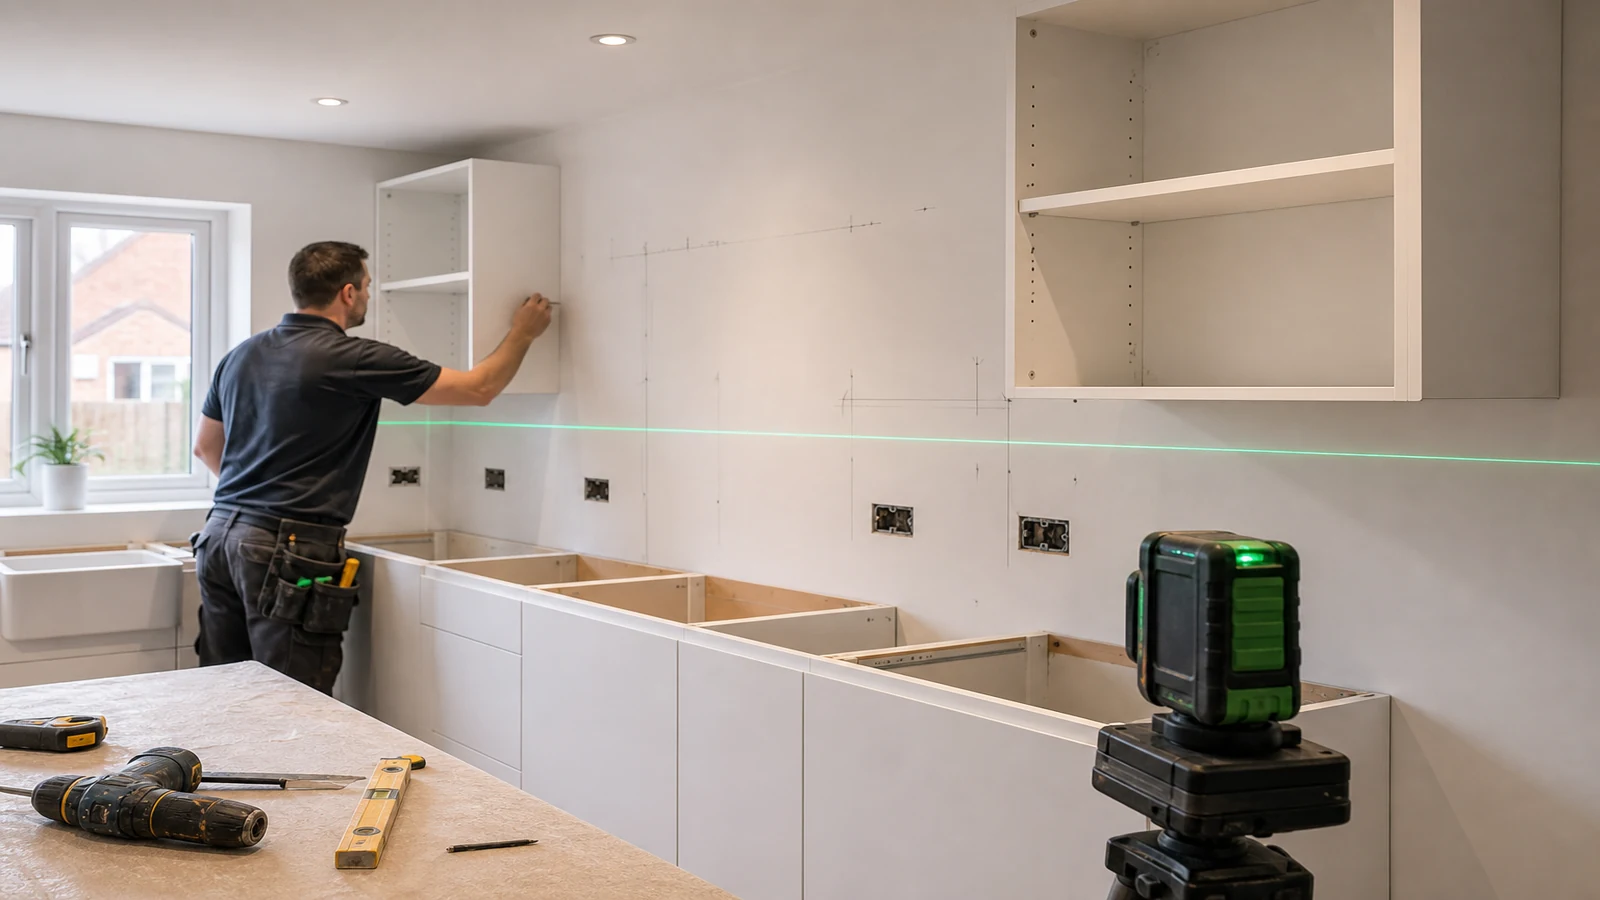
Laser level for kitchen cabinets UK: set one reliable datum
Short answer: find the floor’s high point, decide the finished height of the base or wall-unit reference, then project one horizontal laser line from a stable position. Use that line to transfer the same datum around the kitchen. Shim and fix the units to the datum; do not let a local dip in the floor decide the height of the whole run.
Start with the room, not the first cabinet
Older rooms can have a floor that changes level from one end to the other, and walls are not guaranteed to be straight or square. The laser gives you a consistent visual datum; it does not correct the room by itself. First establish the highest relevant floor point for base units, then work from the installation dimensions supplied for your cabinets and worktop.
Kitchen-install guides show the same basic method: set a self-levelling laser on a tripod and use it to create a continuous height guideline for the units. This kitchen-cabinet laser-level walkthrough is useful background for the approach. Keep the cabinet manufacturer’s installation instructions in charge of the actual fixing method.
A six-step layout sequence
- Empty the sight line. Put the laser where the beam can run along the intended wall without being blocked by boxes or an open door.
- Find the high point. Check the floor at several locations. Mark the point that gives you the least clearance beneath the base units.
- Choose the datum. For base units, calculate the intended top or rail reference from that high point. For wall units, use the manufacturer’s required mounting height rather than guessing from an existing tile line.
- Project the line. Set the laser on a stable tripod or support, allow it to settle, and place the line at the chosen datum.
- Transfer it around returns. Mark key points lightly before you move any cabinet. A 360° horizontal can keep this one datum visible around a room; a cross-line can still work in a short galley kitchen with careful repositioning.
- Fit, shim and re-check. Bring each cabinet to the line, then separately check the carcass for plumb, square and a sound fixing into suitable structure.
Annotated example: a galley kitchen with a low corner
Imagine the floor falls slightly toward one end of a galley kitchen. If you begin at the low end, the last cabinet can rise into the worktop line. Instead, establish the high point first, set the horizontal datum from it, and pack or adjust the lower end as required. The projected line keeps the cabinet tops coherent even when the floor below them is not.
Choose the coverage that matches the kitchen
For one straight run, a cross-line laser may be entirely adequate. For a U-shaped kitchen, a return wall or wall units that must share one height, room-wide coverage reduces the risk of introducing a new reference at each corner. The trade-off is setup complexity, not a promise of better fitting. Use our cross-line versus 360° laser-level guide to make that choice by wall count.
Bosch’s UK DIY material lists setting furniture to a common height among typical 360° laser uses, which is why a continuous horizontal reference is a sensible layout aid here; see its 360° laser application overview.
What the laser cannot decide
- It cannot tell you whether the wall structure is suitable for the intended fixing.
- It cannot make a twisted cabinet carcass square; check the carcass faces and diagonals separately.
- It is not a substitute for cabinet, worktop or appliance installation instructions.
- It should not be used as evidence of Building Regulations compliance or professional certification.
Use the laser to keep the layout consistent, then use the correct fixings, measurements and checks for the actual kitchen system.