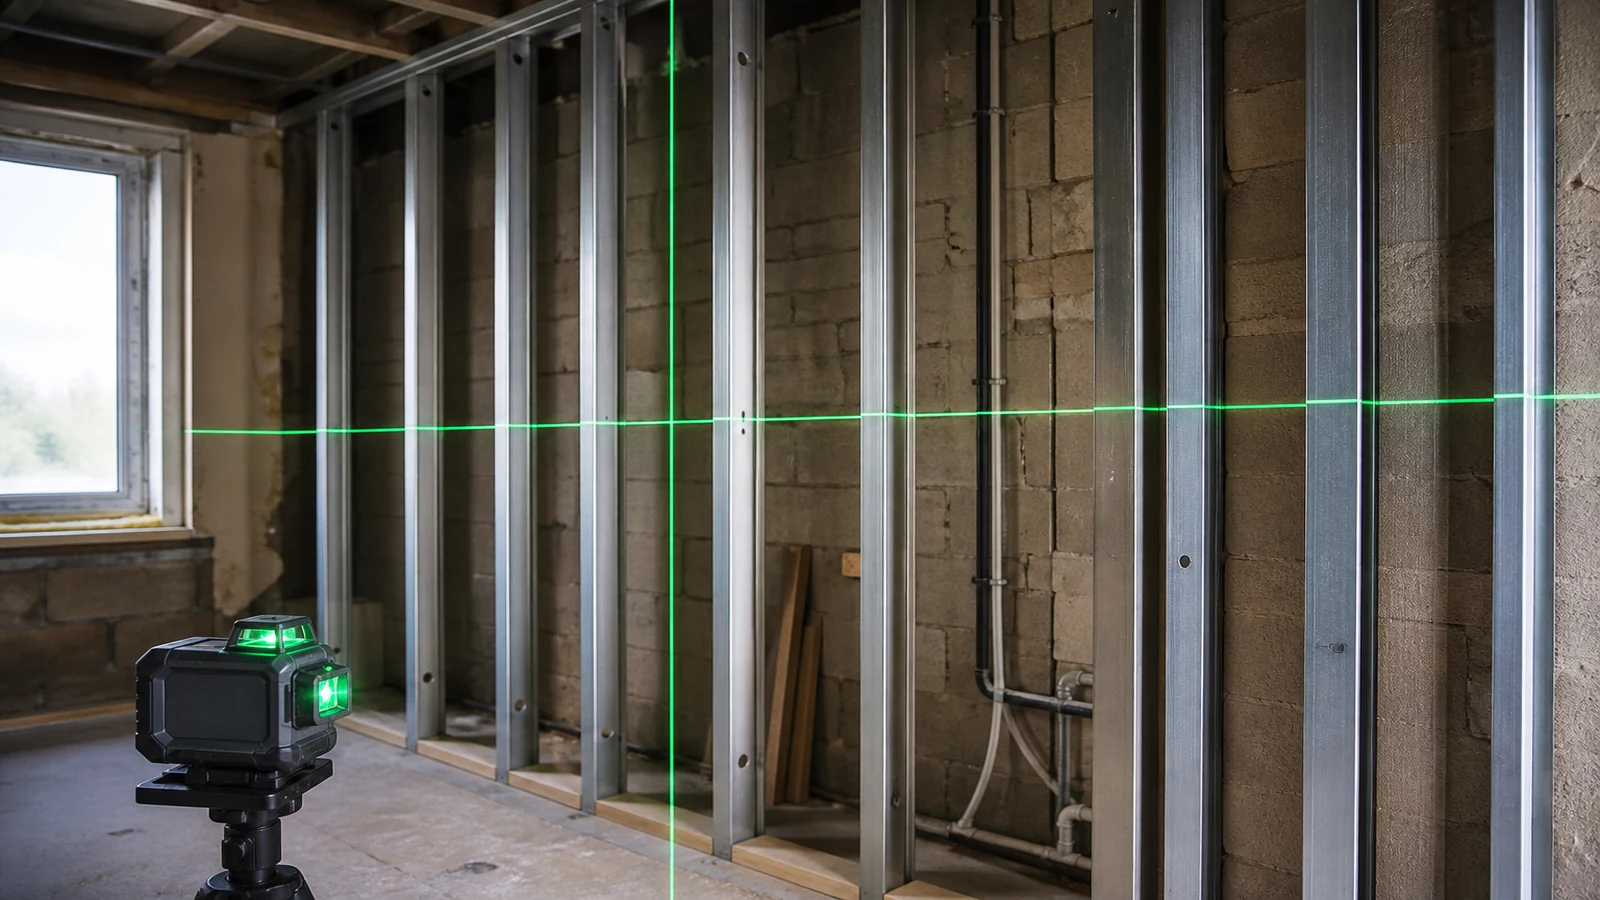
Laser level for dry lining UK: set out tracks and boards without chasing chalk lines
Short answer: use a vertical laser reference to establish plumb for tracks or stud lines, and a horizontal reference to carry a chosen datum through the bay. Mark from the beam, then verify the first fixed components with the appropriate physical checks. A laser speeds repeatable layout; it does not replace sound fixing, manufacturer instructions or the judgement needed for an uneven substrate.
Where the laser earns its place
Dry-lining layout becomes awkward when a line must be repeated across uneven blockwork, around a return or at several heights. A multi-line laser can keep vertical and horizontal references visible while you mark. UK trade suppliers position this type of multi-line equipment for drywalling, partitioning and interior layout; see this drywall and partitioning laser example.
That does not make the beam a structural measurement. It is a clear reference from which you can mark, measure and check each element as the build-up requires.
Use the diagnostic ladder before setting up
- One plumb line on one wall? A simple vertical or cross-line may be enough.
- Several tracks or board faces sharing one room datum? Multi-plane or 360° coverage can reduce reset points.
- Do you need floor, wall and ceiling references together? Confirm the selected tool can project the specific planes you need; line-count labels are not enough.
- Can the laser sit in a stable, unobstructed position? If not, choose a different mounting point or mark a reliable physical datum first.
- Is this exterior grading or long-distance outdoor work? Stop: an indoor dry-lining setup is not the right tool category.
A repeatable indoor set-out workflow
- Clear the work area and choose a stable location where the beam will reach the track and board positions.
- Establish the room datum from the relevant design dimensions, not from a visibly crooked existing edge.
- Project a vertical line for the first track or stud reference and a horizontal line for the chosen band or board datum.
- Mark the floor and head positions from the line. Before fixing, re-check the marks against the intended dimensions and the local condition of the substrate.
- Fix and verify the first component. Use appropriate physical checks for plumb, face alignment, squareness and secure fixing.
- Carry the same laser references along the run, checking periodically that a support, bracket or obstruction has not moved the setup.
UK plasterers’ discussions about dabbing and boarding show why repeated multi-plane references are appealing in practice; treat this UK plasterers’ forum discussion as trade context, not as a substitute for a specification or test result.
Keep safety plain and specific
Never deliberately stare into a laser beam or direct it at another person. If the product is labelled Class 2, follow its instructions and the relevant site controls; UKHSA guidance explains that deliberate staring can be hazardous even though Class 2 visible lasers are intended for short exposures. Read the UKHSA laser-radiation safety advice before use.
When a laser is not the answer
- Do not use a projected line to decide structural adequacy, fire performance, acoustic details or fixing design.
- Do not use an indoor multi-line workflow for outdoor levelling where visibility and receiver requirements are different.
- For an occasional shelf or picture, a quicker simple hand tool may be all that is justified.
For a room-wide choice between simple and multi-plane coverage, use the cross-line versus 360° comparison. The best outcome is a calm, repeatable reference system—not the most complicated tool in the room.